
WARNING: Patching your Tamagotchi Smart will reset your device, and you will lose all progress! Follow the instructions carefully to avoid bricking your device.
If you'd like to pay someone else to install the patch for you, reach out to one of these fine services:
This is the quick, easy, and safe way to patch your Tamagotchi Smart. You don't need to open your device, you just need to put the patch card into the Tama Sma Card slot. You can buy a card with the patch already on it, or you can load it onto an existing patch card or DIM card.
Here are all the approved sellers of patch cards already loaded with the patch:
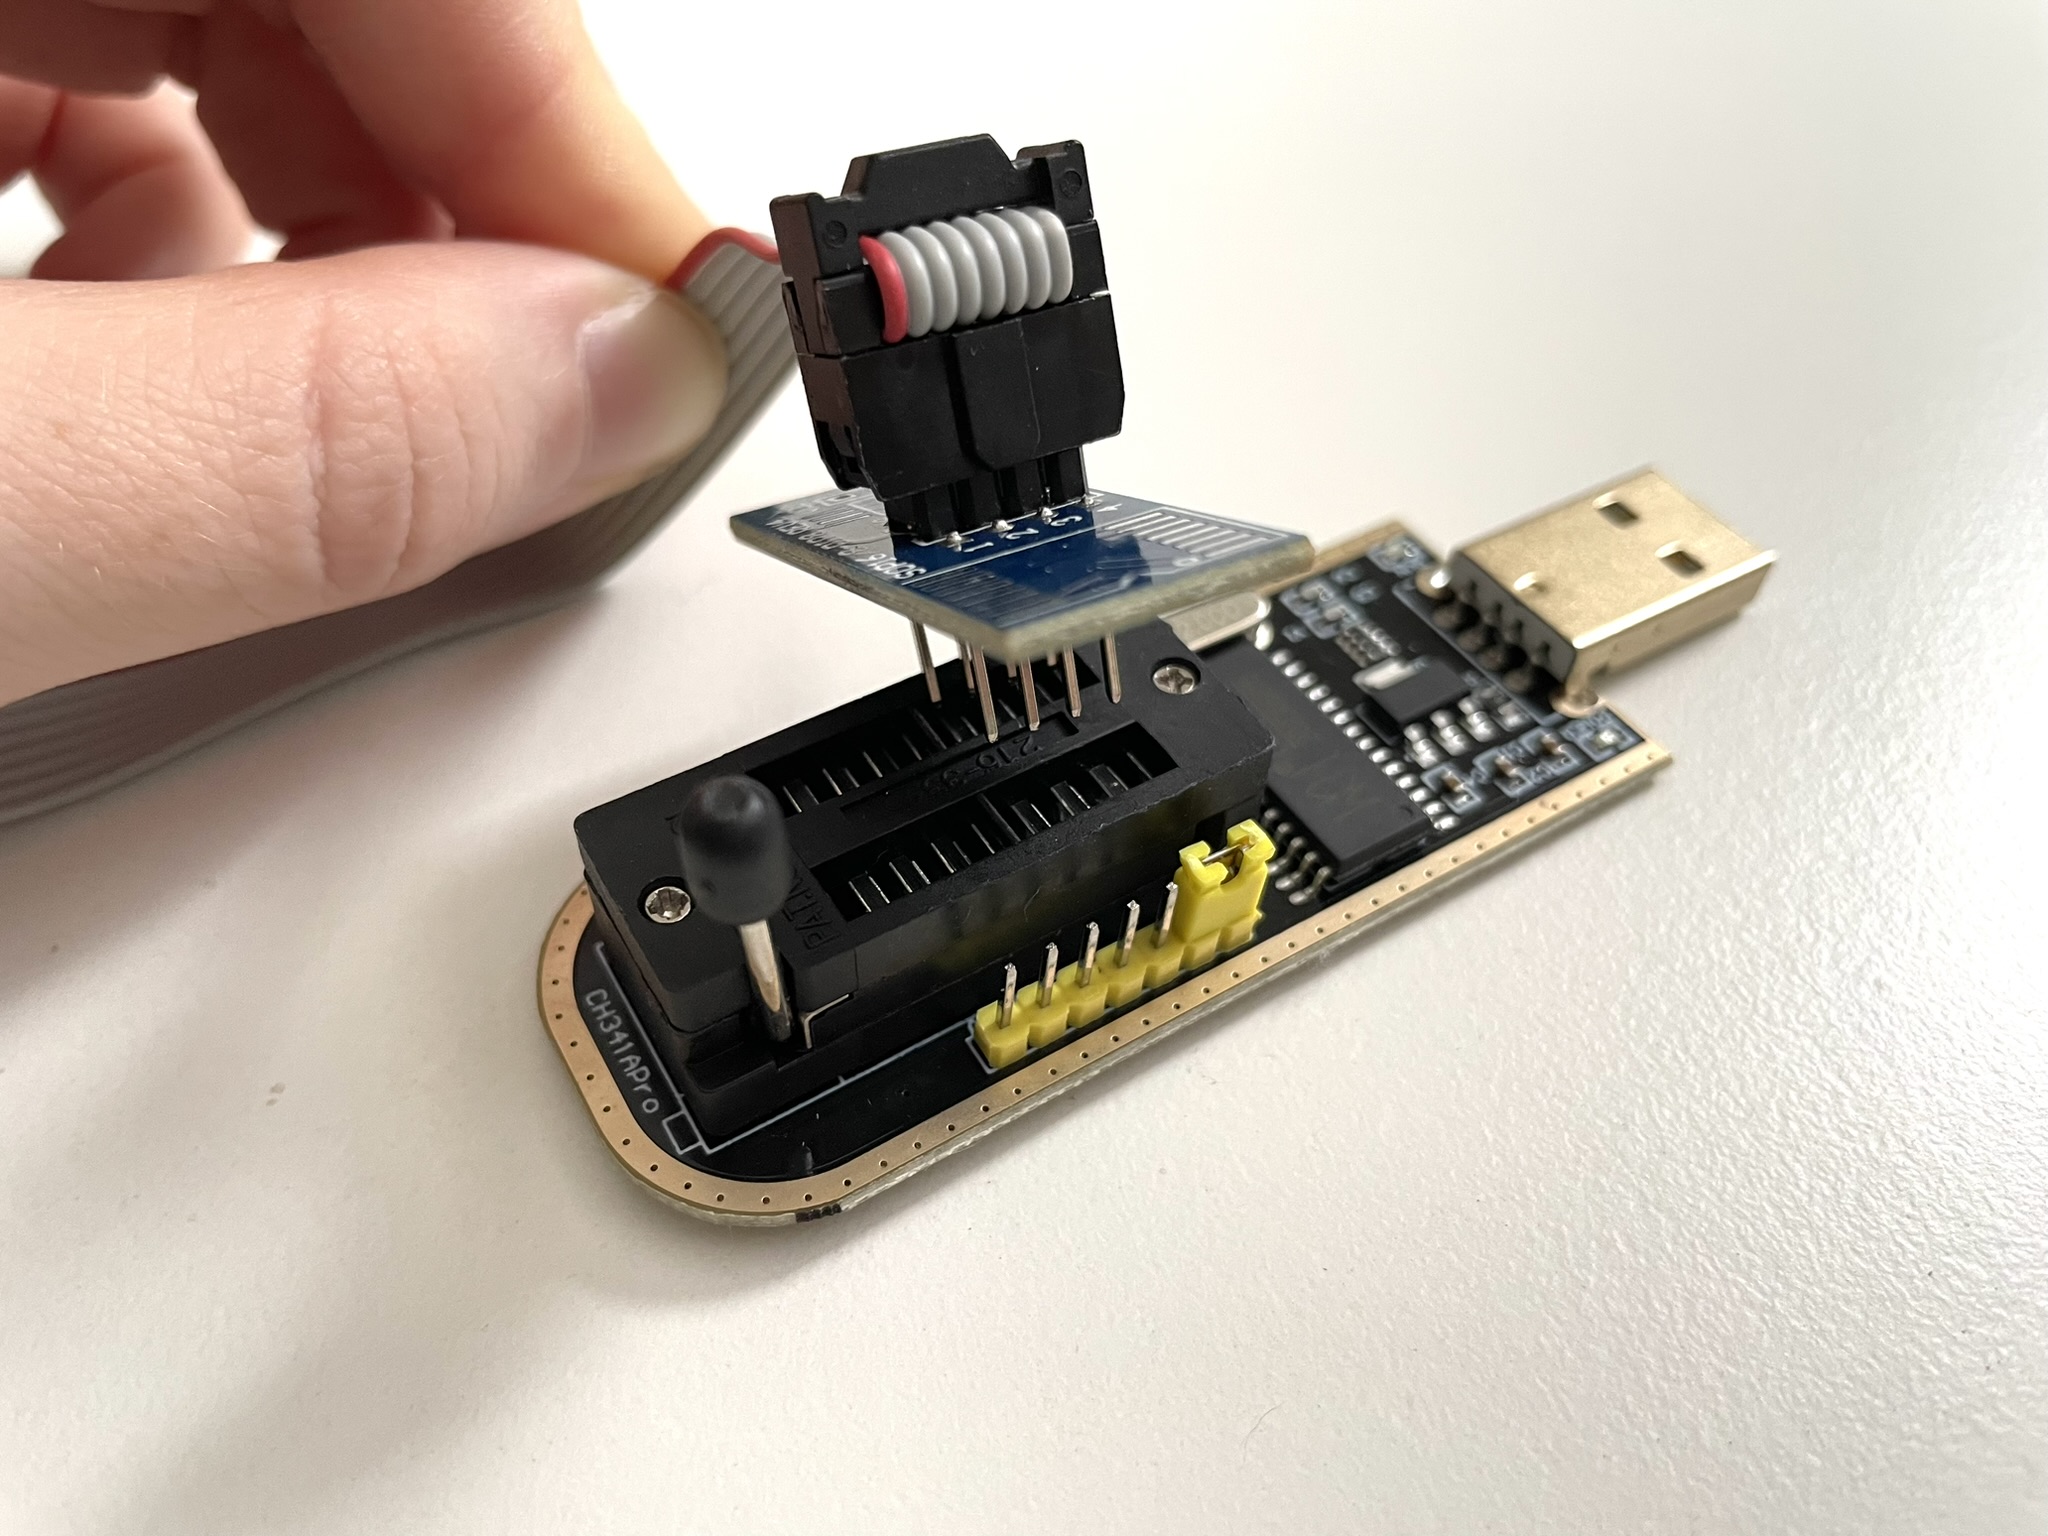
If you already have a card for a different Tamagotchi Smart patch, or a 16MB DIM card, you can get one of these USB tools and load the patch onto it with this guide (use IC MX25L12805D):
Once you have your patch card ready, follow this guide to install it on your Smart:
Make sure to set the programmer to CH341 in AsProgrammer, or ch341a in flashrom if using Tama Spa's or Bazjo's programmers.
The more DIY way of patching your Smart is to open it up and hook it up to your computer using a little device called a CH347 programmer. Since it requires you to open up your device and overwrite its software, there's a possibility you can damage your Smart in the process. ATTEMPT AT YOUR OWN RISK!
Here are some other guides you can follow:
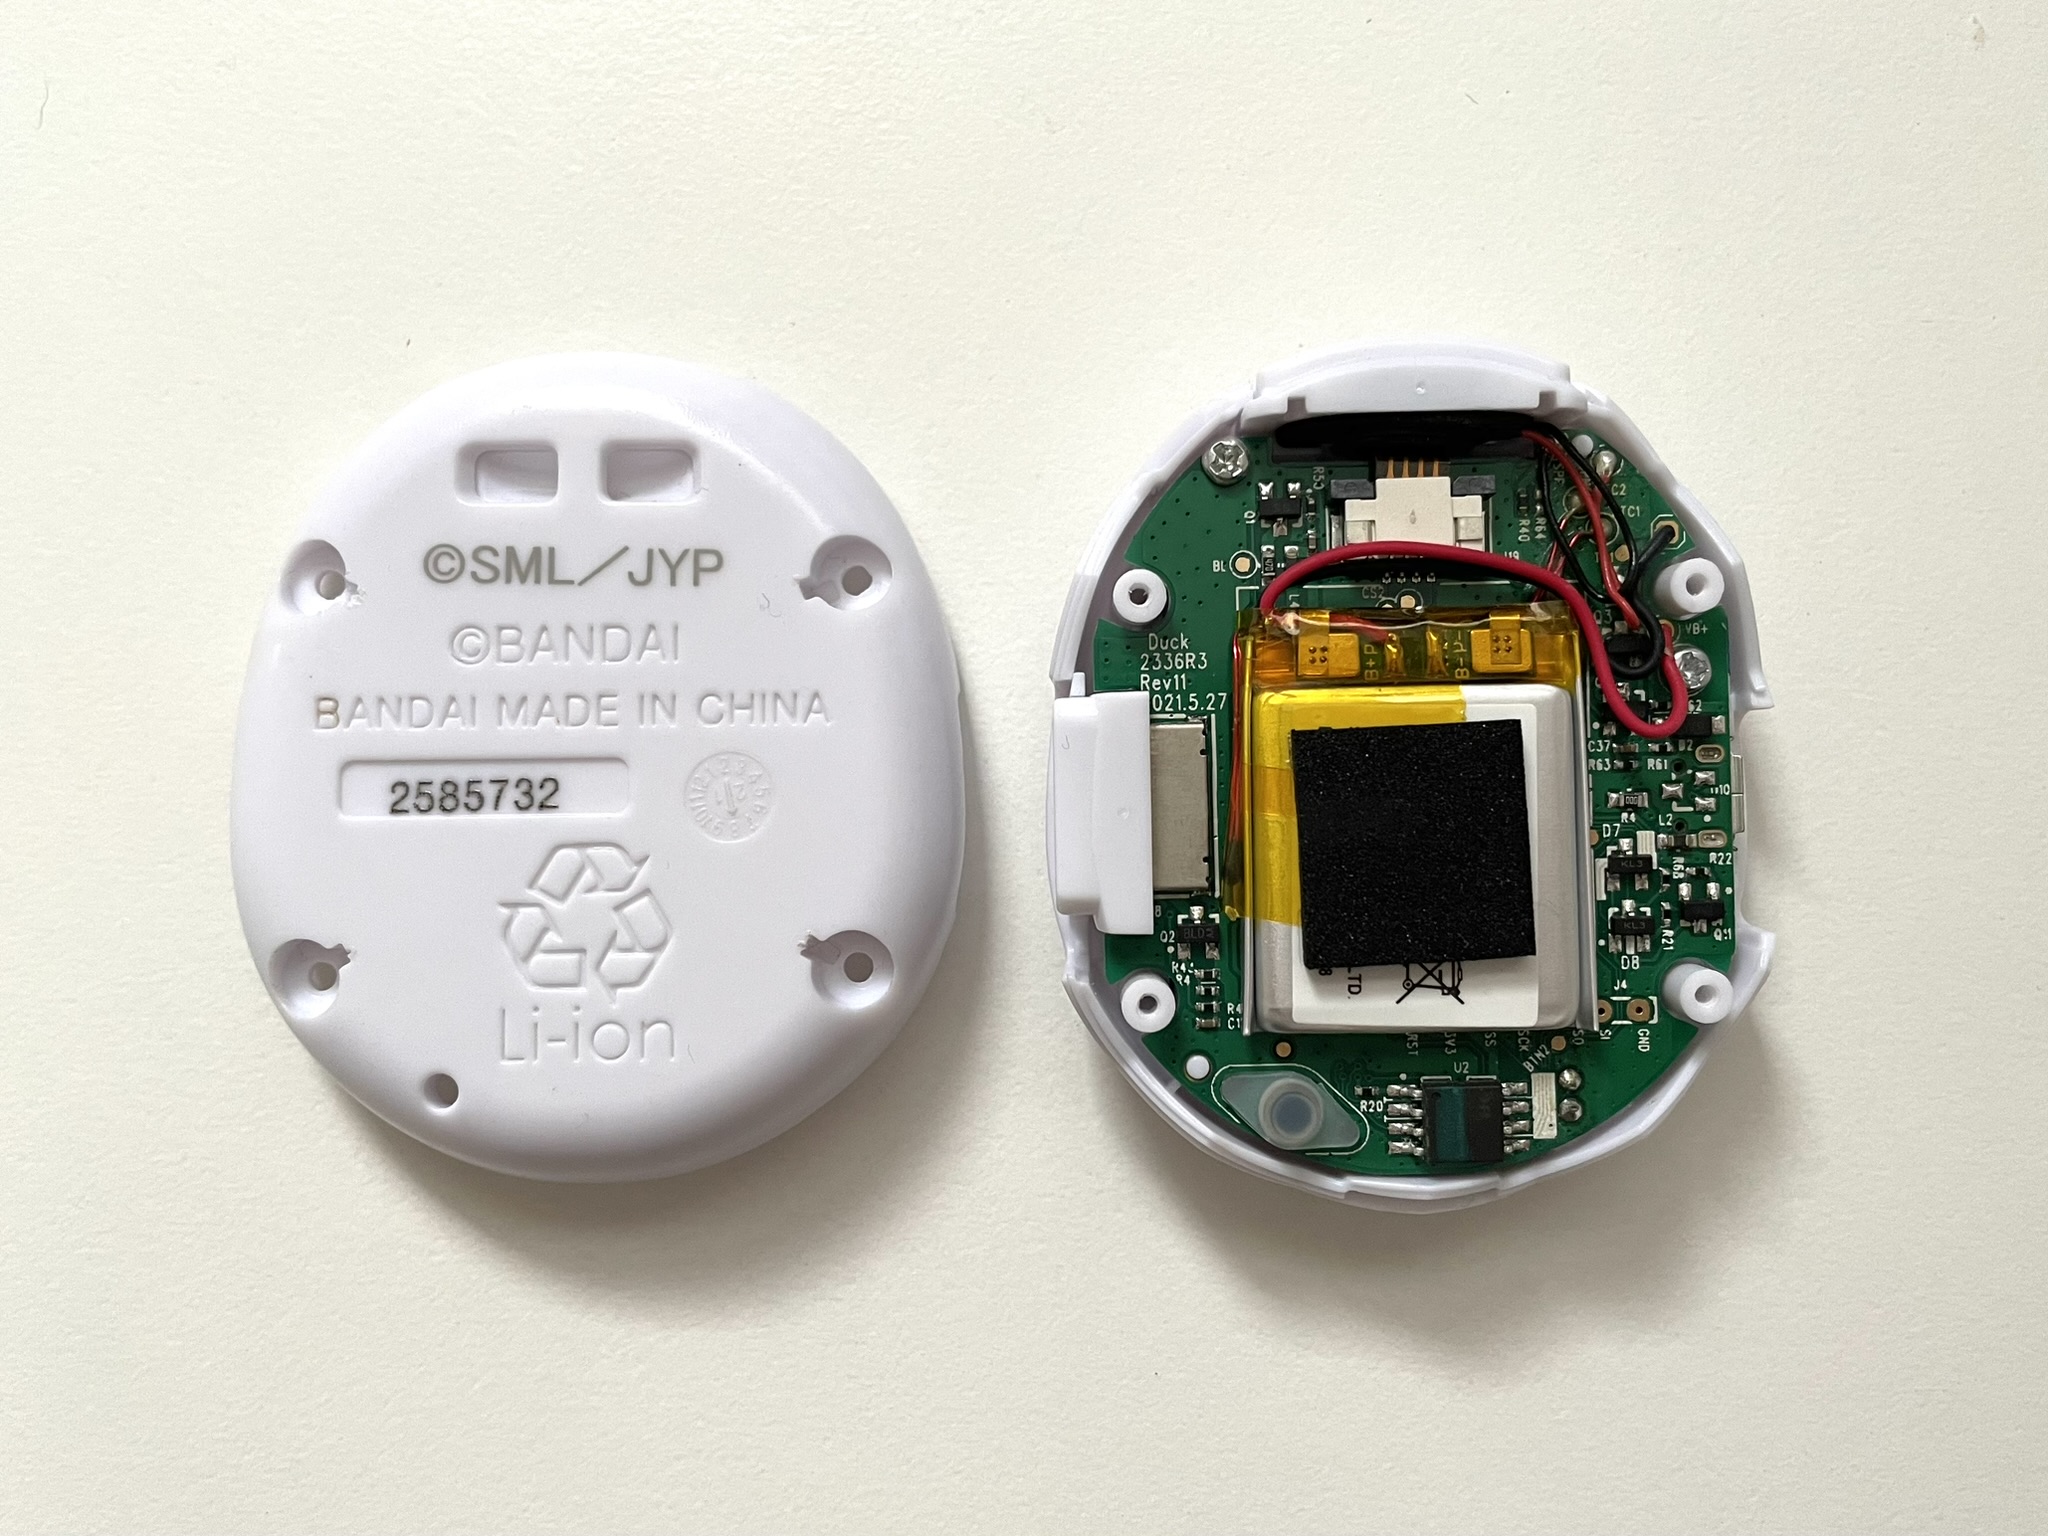
Remove the screw covers from your Tamagotchi Smart by melting the end of four gluesticks, sticking one on each screw cover, letting them cool, then pulling them off. The screw covers should come off with the gluestick. (This may require a couple of tries - if any of them still don't come off you can add a few drops of isopropyl alcohol in the gaps to help loosen them before trying again. Unfortunately sometimes they're well and truly stuck and can't be removed without damaging the shell.)
Unscrew the screws and gently remove the back cover.
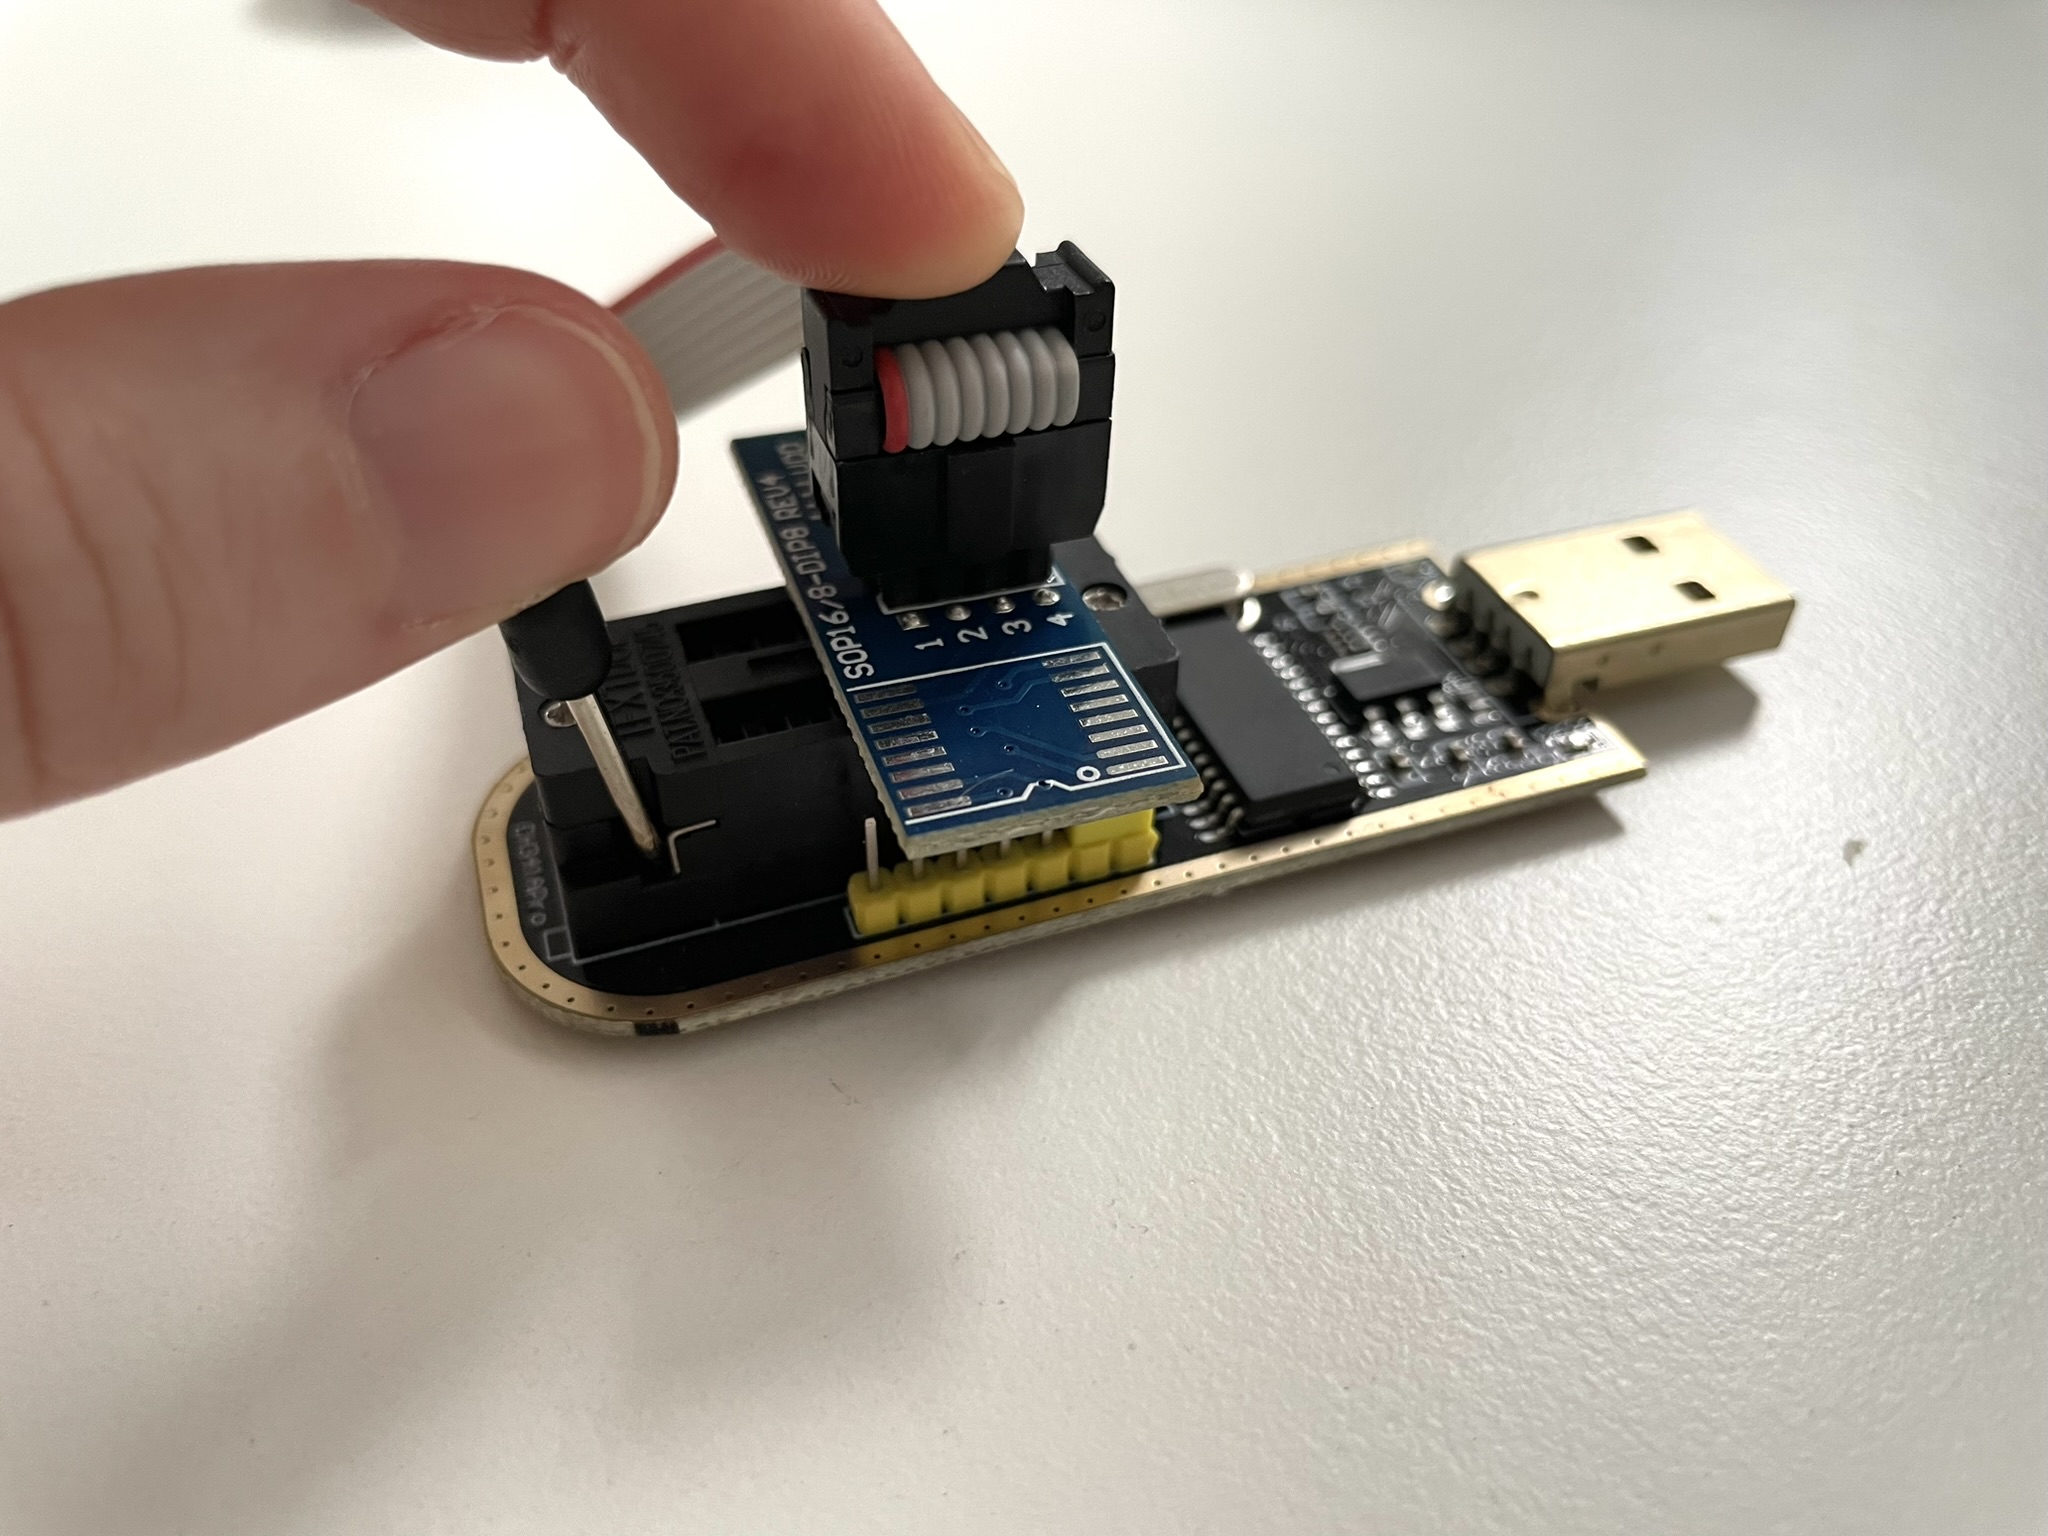
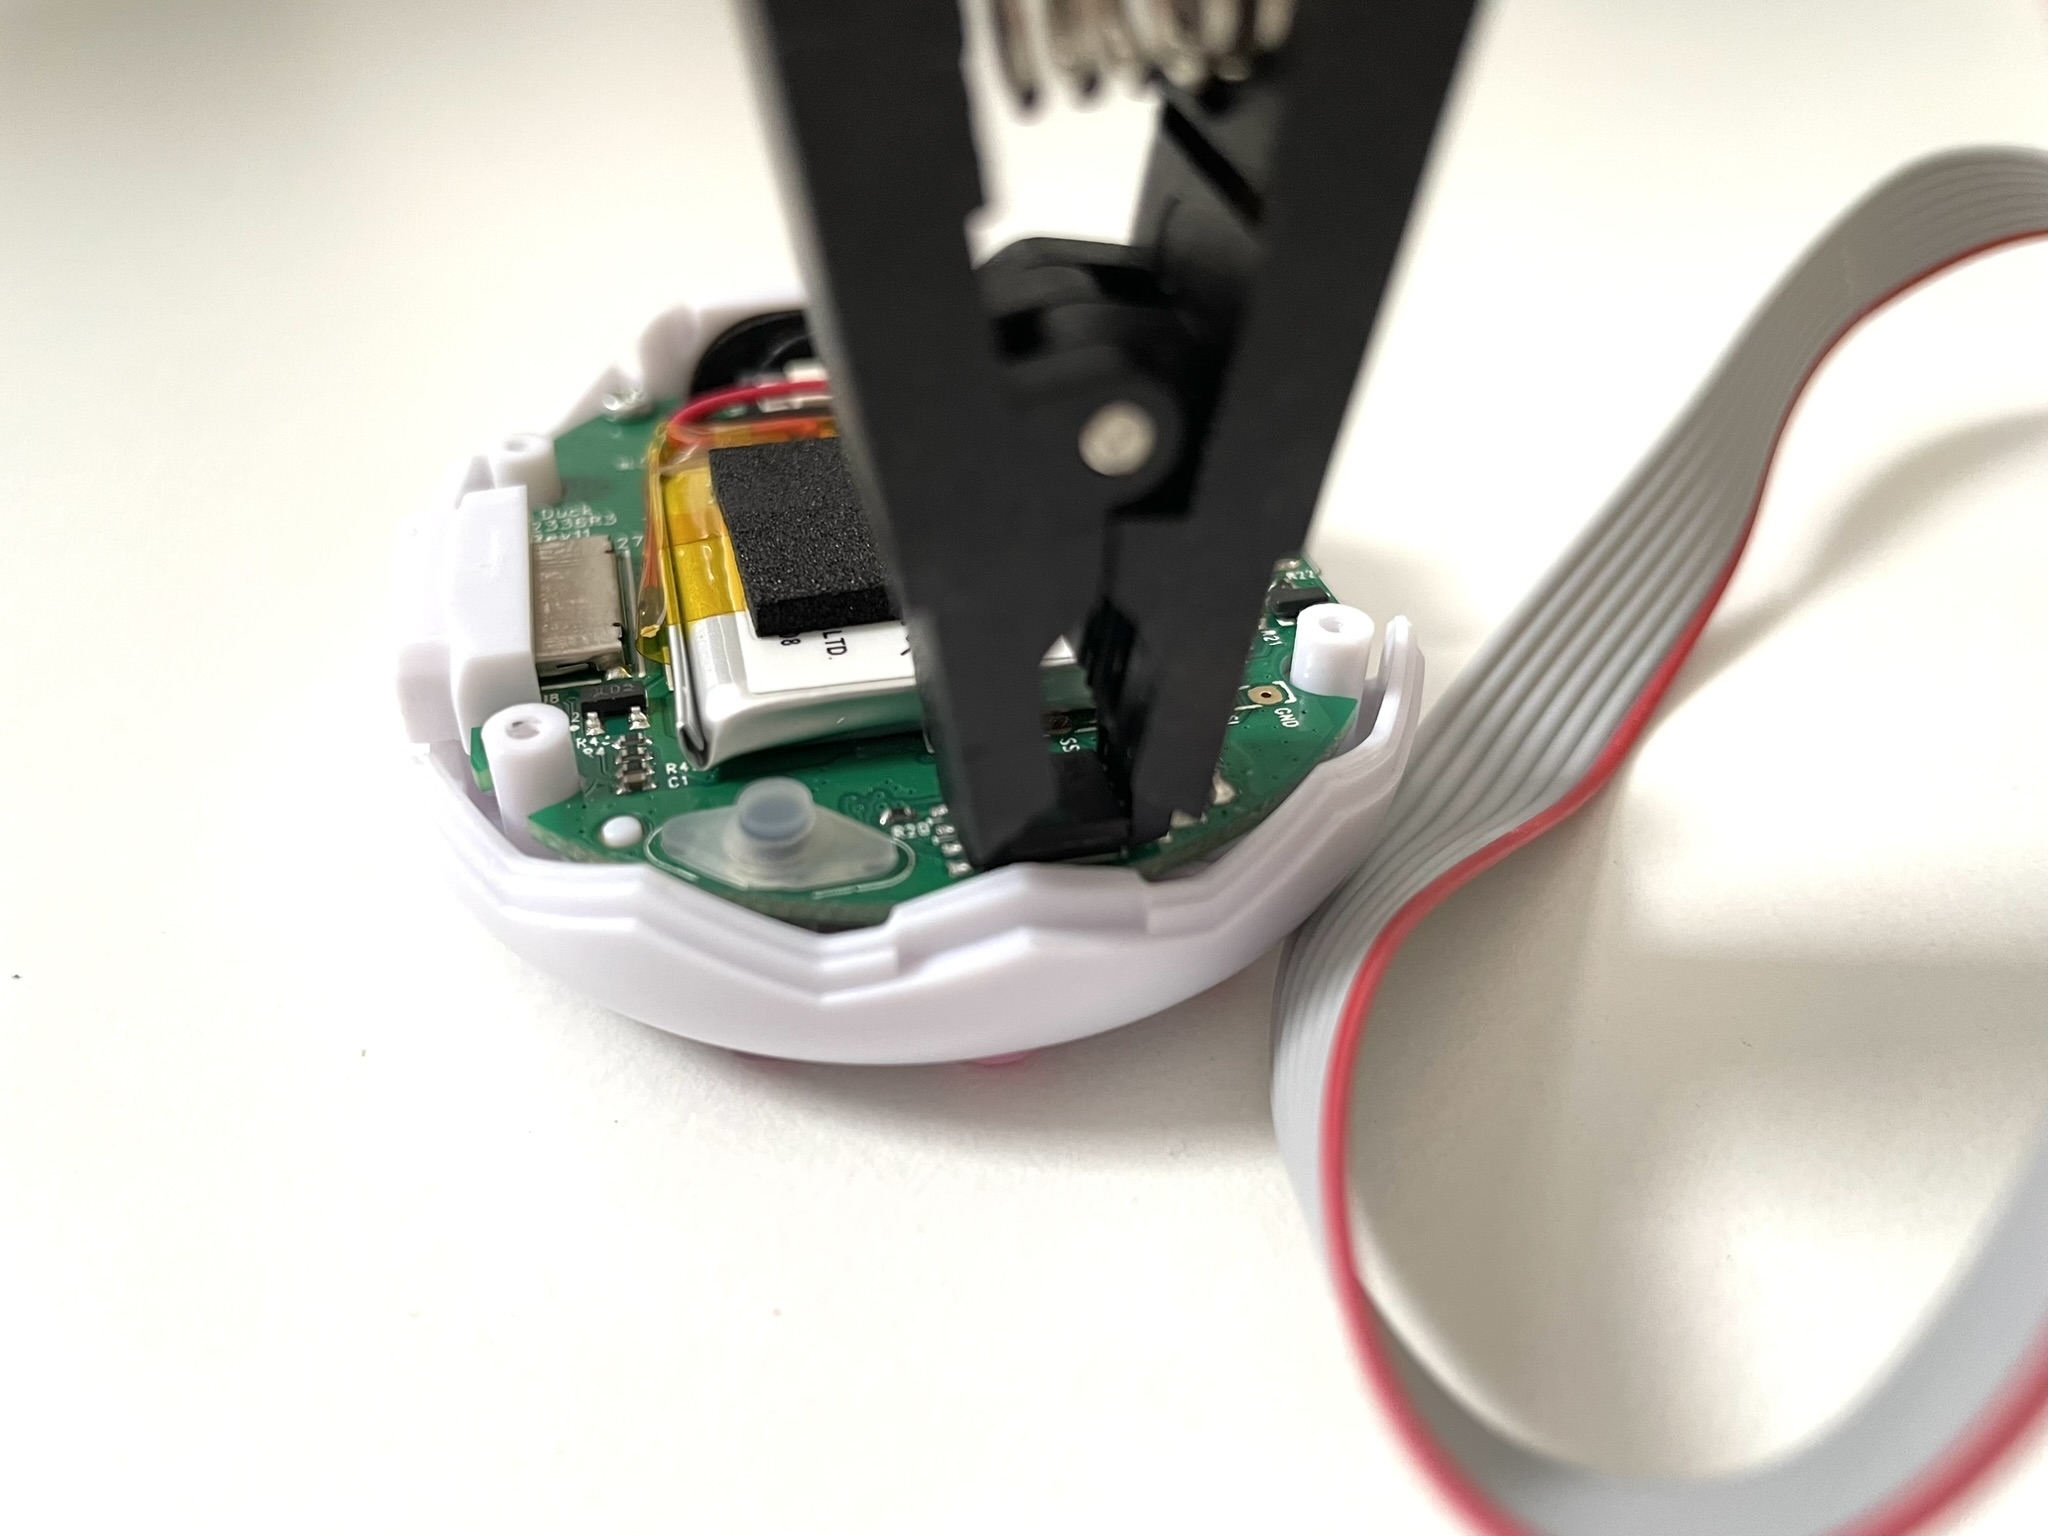
If it's not already, attach the other end of the clip to the EEPROM programmer. Line up the 8 legs with the bottom 8 slots, with the red wire at the top. Make sure the legs are fully in the slots, then pull down the small lever to lock them in place.

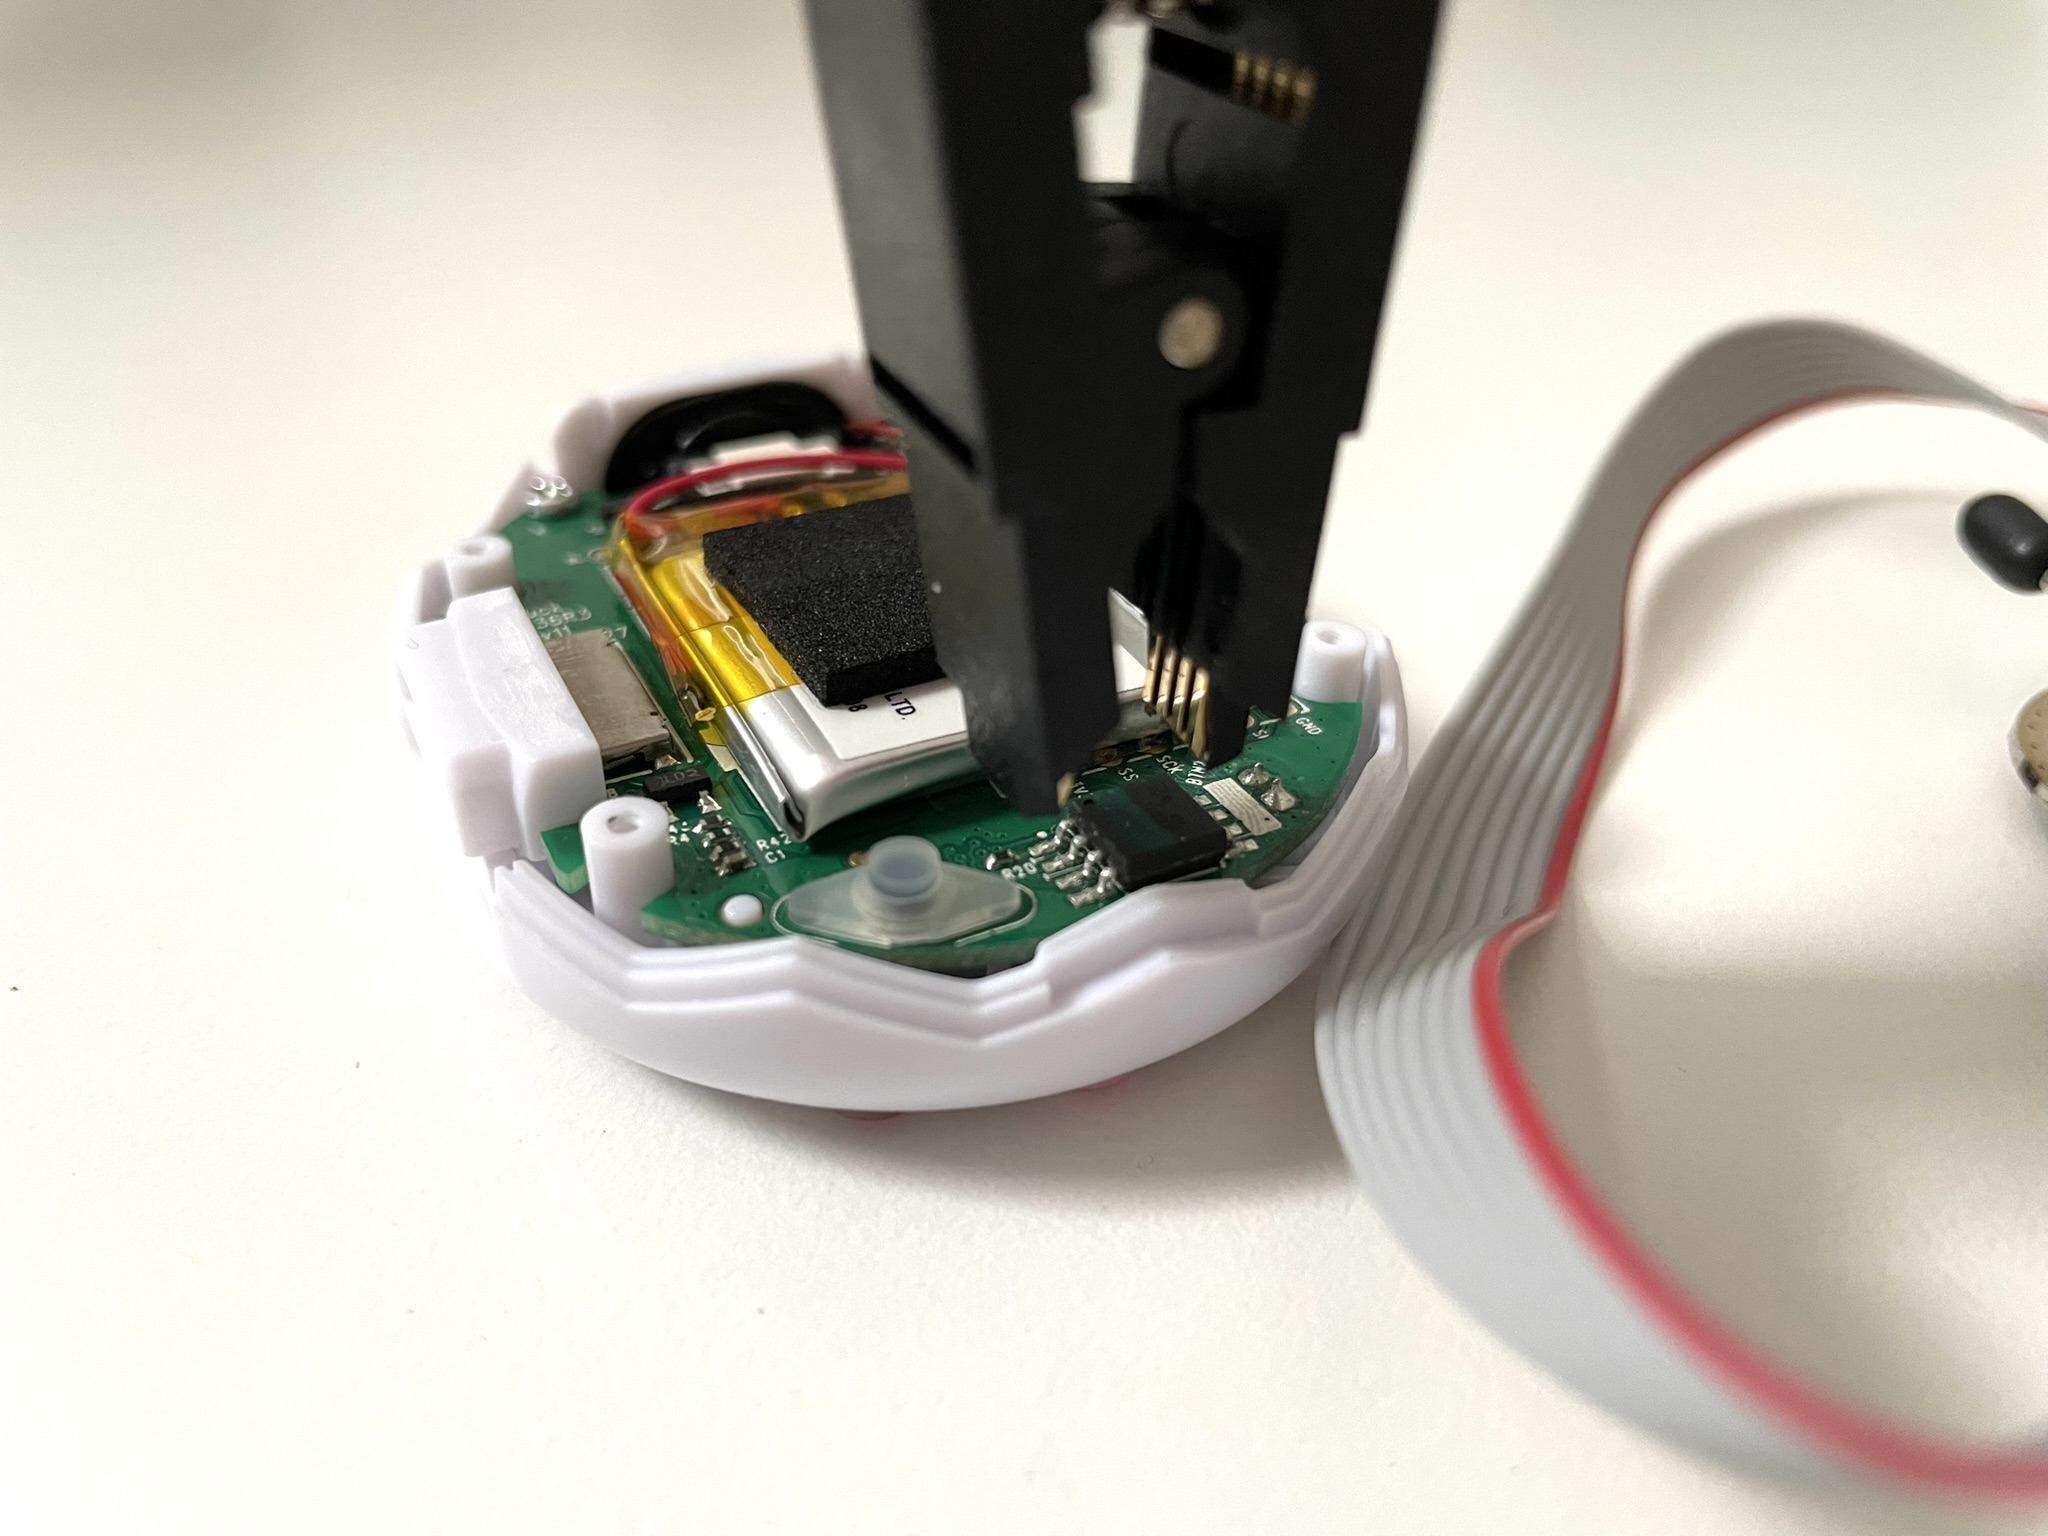
Connect the clip to the square chip below the battery. Make sure the red wire is in the upper left corner, corresponding to the corner on the chip with a tiny dot on it.
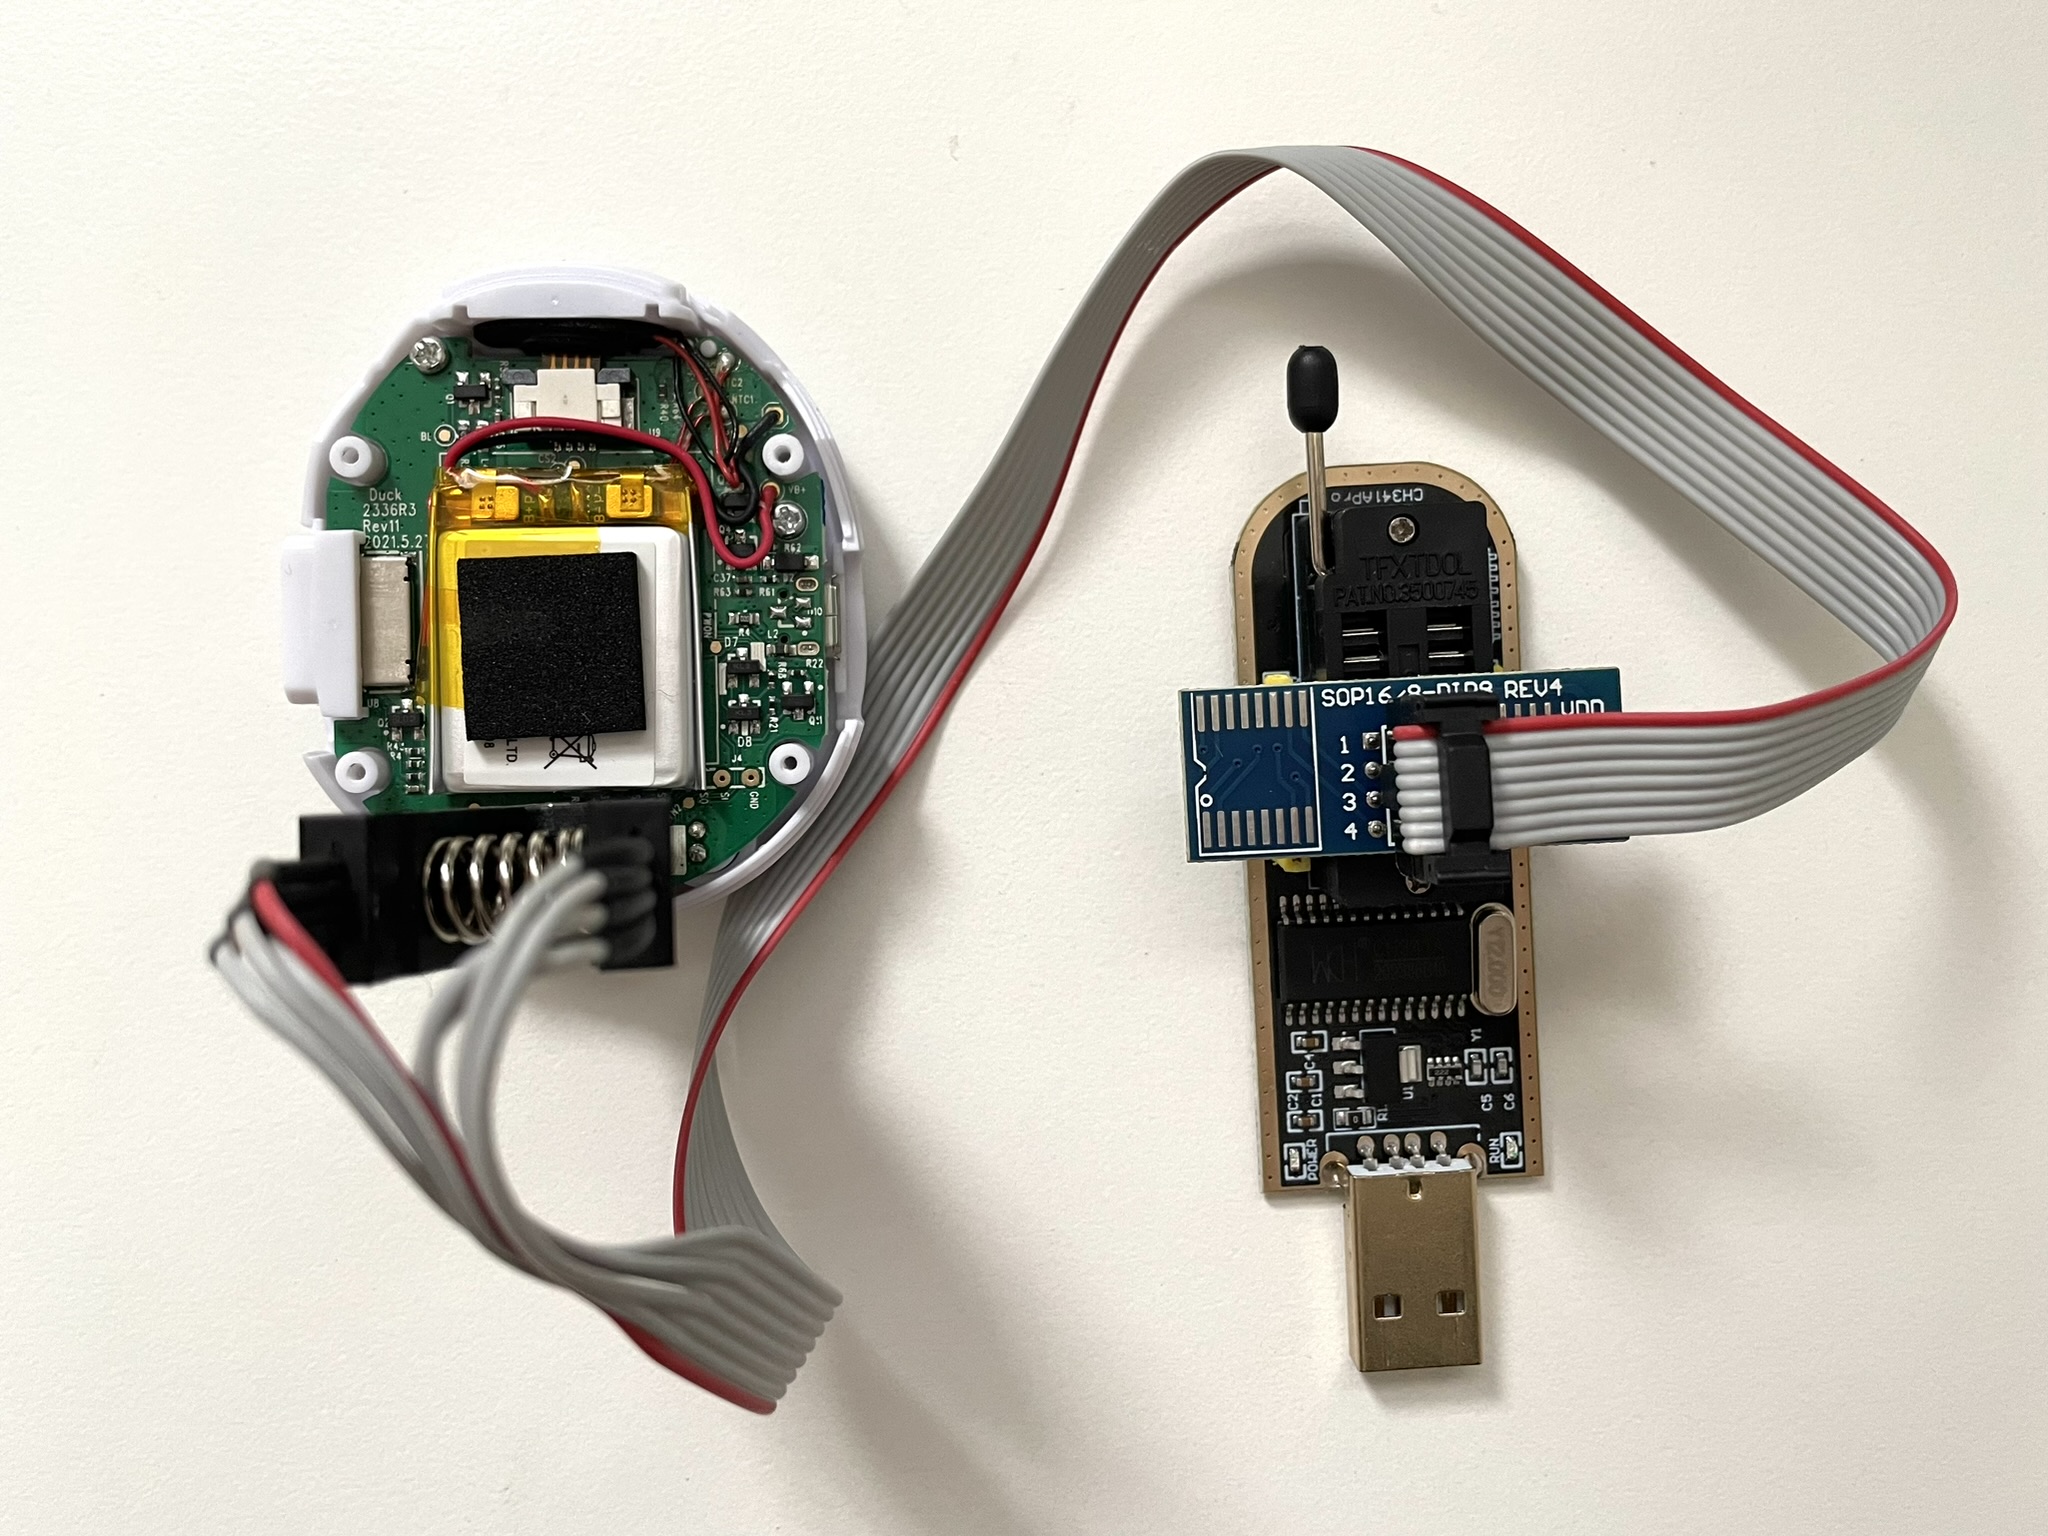
Plug in the USB end of your CH347 to your computer.
First let's make a backup of your current firmware. If you're using AsProgrammer, I recommend teallen's guide. If you're using FlashROM, you'll want to open a terminal in the folder you want your backup in and type the following command:
flashrom -p ch347_spi -c "MX25L12805D" -r backup.bin
Don't touch the Smart while this process is running! Wait until it's completely finished before moving on. It can take a few minutes.
If either program isn't able to connect to your device, you probably need to re-seat the clip, or clean the contact points with some isopropyl alcohol on a cotton swab. It can take several tries - these things are finnicky!
Time to upload the patch to your Smart! If you're using AsProgrammer, keep on using teallen's guide. If you're using FlashROM, you'll want to open a terminal in whatever folder you've saved the patch (.bin file) in and type the following command:
flashrom -p ch347_spi -c "MX25L12805D" -w TamaSmart_FW_\[EN\]-*.bin
Again - don't touch the Smart while this process is running!
When the program you're using says it's complete, you can unclip your Smart and turn it on. Hopefully you'll be greeted with some buttons in English (or whatever language your patch is for).
(If your Smart doesn't turn on, don't worry - you can clip it back in and use your program of choice to restore your backup.bin file.)